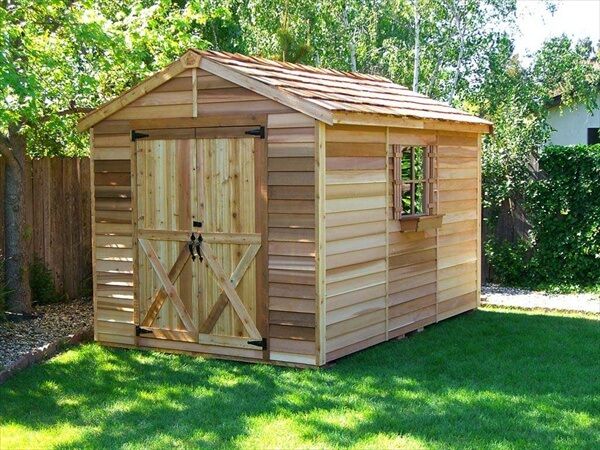
Wooden Pallet Shed Plans: Build an Affordable Shed Using Reclaimed Wood
Tired of overflowing garages and cluttered yards? Dreaming of a dedicated storage space without breaking the bank? Then look no further! This guide provides detailed plans for constructing a sturdy and attractive shed using readily available, cost-effective reclaimed wood pallets. You'll discover how to transform discarded materials into a valuable addition to your property, showcasing your creativity and resourcefulness while minimizing environmental impact.
Assessing Your Needs and Resources
Before diving into construction, carefully plan your project. Consider the size of the shed you need based on your storage requirements. Measure the available space in your yard and ensure you comply with local building regulations. Next, source your pallets. Inspect them thoroughly for rot, damage, and any embedded nails or staples that could pose a safety hazard. Remember, the more pallets you collect, the larger your shed can be! You'll also need additional lumber for framing, roofing, and any desired internal shelving. Gather your tools: a hammer, saw (circular saw is recommended), measuring tape, level, drill, screws, and appropriate safety gear (safety glasses and work gloves are essential).
Step-by-Step Construction Guide
Foundation and Framing
Begin by preparing a level base for your shed. This could be a simple concrete slab, compacted gravel, or even a raised wooden platform, depending on your budget and ground conditions. Once the base is ready, construct the frame of your shed using sturdy 4x4 or 6x6 pressure-treated lumber. Build a rectangular frame, ensuring all corners are square and securely fastened using long screws or bolts. This frame provides the structural integrity of your shed and supports the pallet walls.
Wall Construction
Next, attach the reclaimed pallets to the frame. Disassemble any severely damaged pallets and use only the sound ones. Space the pallets evenly, creating a strong and aesthetically pleasing wall. You may need to cut some pallets to fit perfectly. Consider using galvanized screws to ensure durability and weather resistance. Stagger the pallet joints to improve the overall strength and prevent weak points.
Roofing and Finishing Touches
Construct the roof using a simple gable or shed roof design, depending on your preference and the overall dimensions of the shed. You can use plywood, corrugated metal sheeting, or even more reclaimed wood for the roof covering. Ensure proper drainage to prevent water damage. Once the roof is complete, seal any gaps between the pallets and the frame to prevent drafts and moisture ingress. You can use weatherstripping or caulk for this purpose. Add a door (consider using a pre-built door for ease) and any windows for ventilation. Consider painting or staining the exterior for added protection and aesthetics.
Safety Precautions and Tips for Success
Safety first! Always wear appropriate safety gear, including safety glasses and work gloves. When disassembling pallets, be cautious of rusty nails and staples. Use a pry bar carefully to avoid injury. Ensure the foundation is level to prevent structural problems. Check local building codes and obtain any necessary permits before commencing construction. Consider adding extra bracing for stability, particularly in areas prone to high winds or snow. Adding a layer of waterproof membrane under the roofing material will help protect the structure from the elements. This entire project requires careful planning and execution; taking your time will lead to a better outcome.
Beyond the Basics: Adding Personal Touches
Once the basic structure is complete, let your creativity flow! Add shelves, hooks, and other storage solutions inside. Personalize the exterior with paint, stain, or decorative elements. Consider adding a small window for extra light and ventilation. Think about adding a padlock for added security. With a little imagination, you can create a truly unique and functional storage solution.
Building a shed from reclaimed wood pallets is a rewarding experience. It's a sustainable and affordable way to create valuable storage space. Following these detailed plans, you can confidently construct a sturdy and attractive shed, transforming discarded materials into a functional and beautiful addition to your property. Remember to always prioritize safety and enjoy the process!


No comments:
Post a Comment
Note: Only a member of this blog may post a comment.